As an Amazon Associate this site earns from qualifying purchases.
If you are staring at a flashing BURN warning while making chili, you are not alone. The instant pot burn message tomato chili issue happens because tomato products are dense, acidic, and sugar-heavy, so they sink to the bottom of the inner pot and scorch against the heating element before pressure can build. The fix is fast: hit Cancel, release pressure safely, open the lid, scrape the bottom, add a splash of broth, and re-layer so tomatoes sit on top of the chili rather than against the steel. Below is the full troubleshooting checklist, plus a prevention routine you can use every time you cook a tomato-based chili in any Instant Pot model.
Why the Burn Message Appears With Tomato Chili
The Instant Pot does not actually detect burning. It detects an overheating bottom sensor. When the temperature at the base of the inner pot climbs faster than steam can carry heat upward, the controller assumes food is scorching and trips the burn alarm to protect the seal and the electronics. Tomato-based chili is one of the worst offenders for three reasons:
When shopping for instant pot burn message tomato chili, it pays to compare specs, capacity, and real-world runtime before committing.
- Density: Crushed tomatoes, tomato paste, and refried beans are thick. They do not circulate, so the layer touching the steel acts like a heat blanket.
- Sugar content: Tomatoes, onions, bell peppers, and any added brown sugar caramelize quickly at 240°F+ and stick to the bottom.
- Acidity plus starch: Acid from tomatoes combined with starch from beans creates a paste that grabs onto micro-scratches in the stainless steel.
Once you understand the mechanism, the instant pot burn message tomato chili fix becomes mostly about layering and liquid, not about the recipe itself.
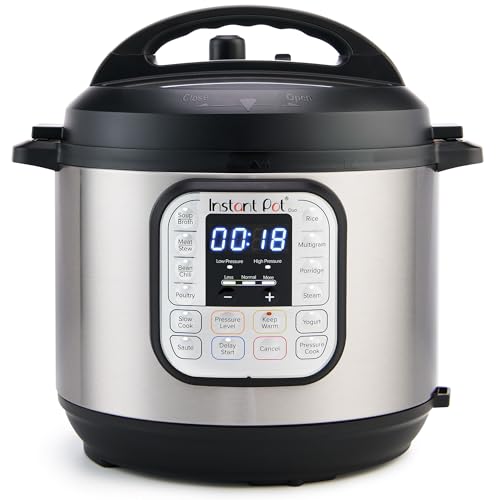
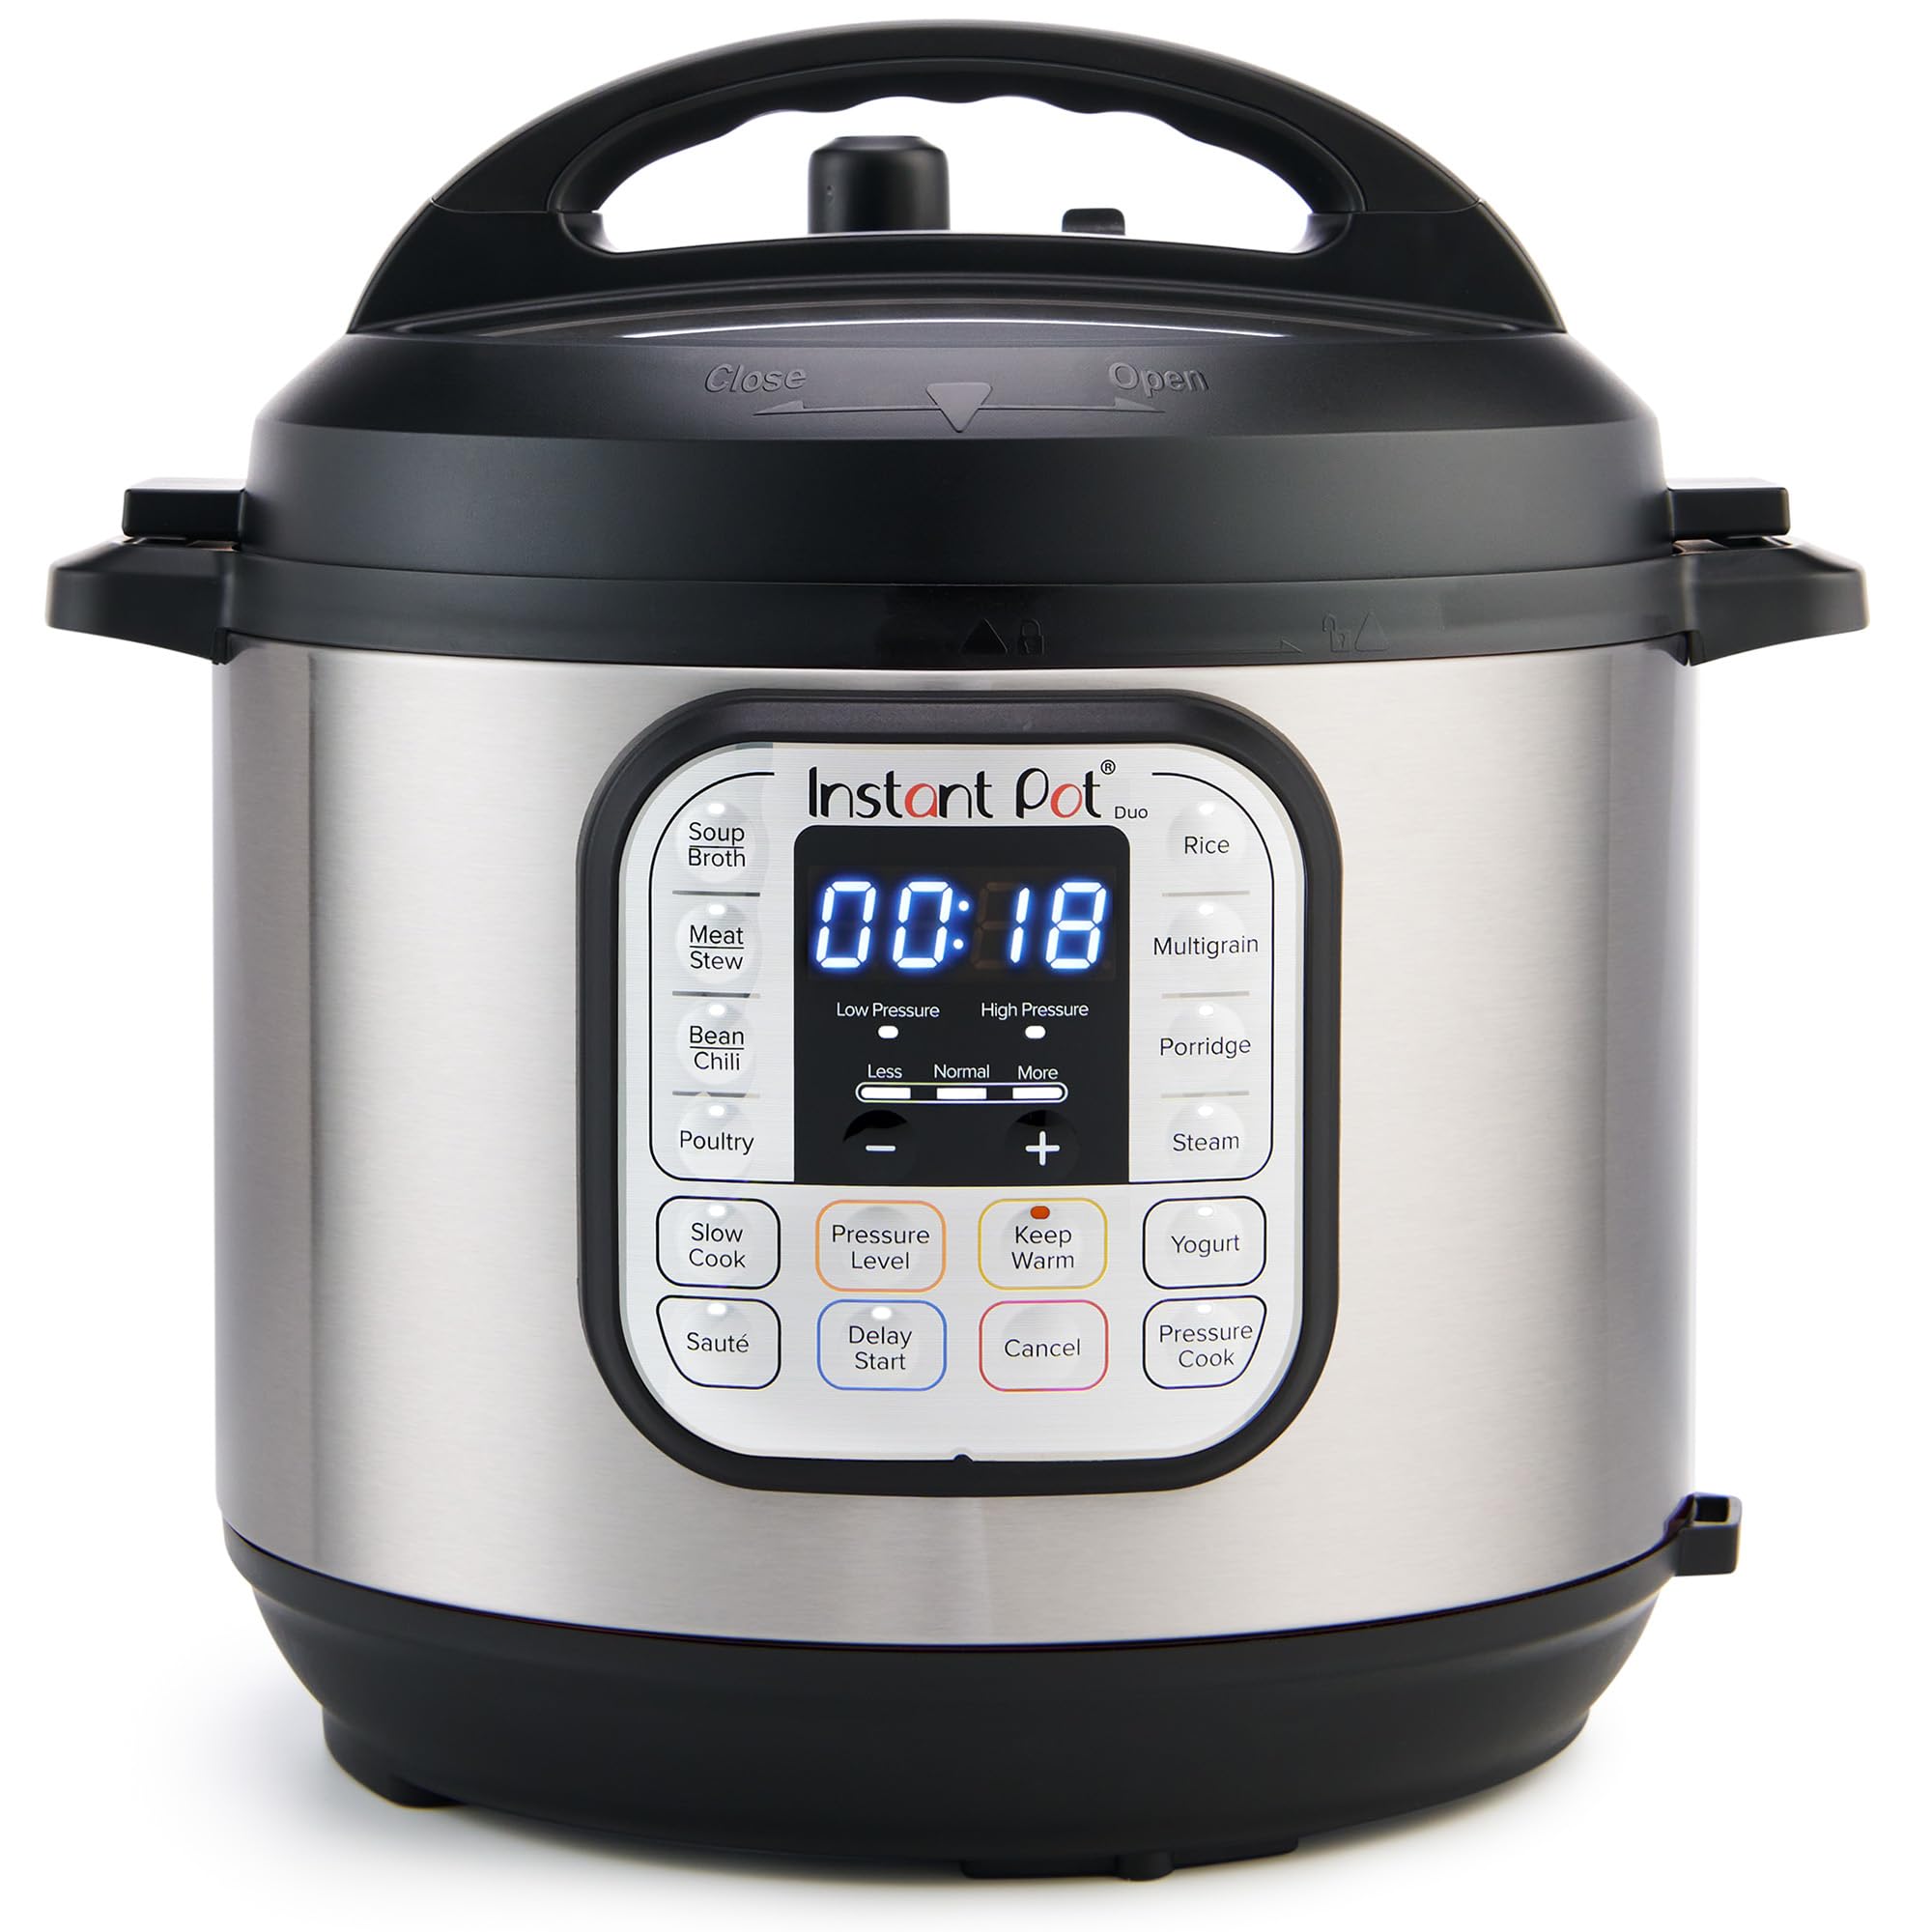
- 7 Cooking Functions: Pressure cook, slow cook, sauté, steam, make rice, yogurt, or simply keep your meal warm—all in one appliance
- Customizable Smart Programs: Tackle every recipe with 13 one-touch options, from hearty soups to decadent cakes

- ALL-IN-ONE KITCHEN SYSTEM: Blend, chop, crush and more in this powerhouse blender and
- POWERFUL MOTOR:1500-watt motor base to crush ice, blend frozen fruit, and power through tough ingredients with the 2-horsepower motor, designed for professional results
Immediate Fix: What to Do When BURN Is Flashing Right Now
- Press Cancel. Do not try to override it by hitting Pressure Cook again. The sensor will trip immediately.
- Quick-release pressure if any has built up. Use a long utensil and keep your hand away from the valve.
- Open the lid and inspect the bottom. If you see a brown crust, that is fond. It is not ruined food, but it must come off the steel.
- Transfer the un-scorched chili from the top of the pot into a bowl. Leave the stuck layer behind.
- Deglaze: Add 1 cup of broth or water and use a wooden spoon to scrape every brown bit off the bottom. If it does not lift, simmer on Saute (Low) for 2 minutes and scrape again.
- Re-layer: Return beans and meat first, then add an extra ½ cup of liquid, then pour tomato products on top. Do not stir.
- Lock the lid and resume Pressure Cook. The burn message should not return.
The Five Rules to Prevent the Burn Message Forever
1. Always Use At Least 1 Cup of Thin Liquid
Tomato sauce and crushed tomatoes do not count as liquid for pressure-building purposes. You need 1 to 1.5 cups of broth, beer, or water with no tomato in it to generate steam. Add this directly to the bottom of the empty pot before any other ingredient.
2. Layer in the Correct Order
The order from bottom to top should be: thin liquid, aromatics (onion, garlic, spices), ground meat browned and drained, dry beans or rinsed canned beans, then tomato paste, diced tomatoes, and tomato sauce on top. Do not stir after adding tomatoes. The tomato layer should float and only mix in during the natural release.
3. Deglaze After Sauteing
If you brown meat or onions on the Saute function, there will be fond stuck to the bottom. Pour in ¼ cup of broth and scrape until the pot is clean before adding anything else. This single step prevents about half of all burn alerts.
4. Cut Tomato Paste With Water
Concentrated tomato paste is the single most common cause of burn alarms. Whisk it into a cup of warm broth before pouring it in, or dollop it on top of the chili and never stir. Never let raw paste touch the steel.
5. Watch for a Worn Sealing Ring
A stretched silicone ring lets steam escape, which means the pot must heat longer to reach pressure, which means more time for the bottom to scorch. Replace your sealing ring every 12 to 18 months, or sooner if you smell chili in your morning oatmeal.
Does the Instant Pot Model Matter?
Yes. Newer Duo Plus, Pro, and Pro Crisp models have a more sensitive burn sensor than the original Duo, which means they trip earlier but also prevent more actual scorching. The Rio and Rio Wide use a slightly redesigned tri-ply base that distributes heat more evenly and tends to be more forgiving with tomato chili. If you cook chili weekly and your current pot trips constantly, upgrading the base unit is a reasonable solution. If you are weighing your options between pressure and slow cooking, the comparison in our slow cooker vs Instant Pot guide walks through which appliance handles long, acidic stews more reliably.
Recipe Adjustments That Stop Burn Alarms
Use Diced Tomatoes Instead of Crushed
Diced tomatoes hold their structure and float better. Crushed tomatoes turn into a heavy puree that sinks and scorches. If your recipe calls for crushed, swap in a can of diced plus a tablespoon of paste on top.
Add Beans Whole, Not Mashed
Refried beans or mashed beans behave like tomato paste against the heating element. Add whole beans during pressure cooking and mash a portion against the side of the pot with a spoon after pressure release if you want a thicker chili.
Hold the Dairy and Thickener Until After Pressure Release
Sour cream, masa harina, cornstarch slurry, and shredded cheese should all go in after the lid comes off. Under pressure, they coat the bottom and turn into glue.
Cut the Pressure Cook Time
Most tomato chili recipes only need 12 to 15 minutes at high pressure followed by a 15-minute natural release. Recipes calling for 30+ minutes are usually adapted from stovetop versions and dramatically increase scorch risk.
What If the Chili Already Tastes Burnt?
If you caught the burn message early, the chili on top is fine. Transfer it, leave the scorched layer in the pot, and finish cooking the rescued portion in a clean inner pot or a Dutch oven on the stovetop. If a burnt taste has spread through the whole batch, add a peeled raw potato and simmer for 15 minutes. The potato absorbs a surprising amount of acrid flavor. Discard the potato before serving. A tablespoon of apple cider vinegar plus a teaspoon of brown sugar can also rebalance the flavor.
Cleaning the Inner Pot After a Burn Event
A scorched stainless inner pot is not ruined. Fill it with 2 cups of water and 2 tablespoons of baking soda, run a 5-minute Saute cycle, then let it sit for 30 minutes. Scrub with a non-abrasive pad. For stubborn stains, Bar Keepers Friend restores the mirror finish without scratching the steel, which matters because scratches are where future chili will stick. Avoid steel wool, which creates exactly the kind of micro-scratches that cause repeat burn alarms.
When to Replace the Inner Pot
If you see a permanent dark ring on the bottom that will not lift with baking soda or Bar Keepers Friend, the steel has been thermally stressed. The pot still works but will burn more easily going forward. A replacement inner pot costs far less than a new Instant Pot and is the cheapest fix for a chronic burn-alarm problem. Buy the official inner pot for your specific model, since generic pots have a thinner tri-ply base and trip the sensor faster.
A Quick Word on Multi-Cooker Maintenance
Tomato chili problems are often a symptom of a pot that needs general maintenance. Wipe the rim, condensation cup, and float valve after every cook. Run a steam cycle with water and a sliced lemon monthly to clear odors. If you store other appliances on the counter, our guide to organizing countertop appliances has ventilation tips that keep the Instant Pot lid drying properly between uses, which extends the life of the sealing ring.
Frequently Asked Questions
Why does my Instant Pot say burn when making chili with diced tomatoes?
Even diced tomatoes can trigger the burn warning if there is not enough thin liquid underneath them or if tomato paste was added directly to the bottom. Always pour at least 1 cup of broth or water in first, then layer meat and beans, and place tomato products on top without stirring.
Can I add tomato paste to the Instant Pot without burning?
Yes, but never put it on the bottom and never stir it in before pressurizing. Whisk the paste into a cup of warm broth before adding, or dollop it on top of the chili so it dissolves slowly as steam circulates. Concentrated paste touching the steel is the single most common burn-alarm trigger.
How much liquid do I need for chili in an Instant Pot to avoid the burn warning?
Use a minimum of 1 cup of thin, tomato-free liquid such as broth, beer, or water for a 6-quart pot and 1.5 cups for an 8-quart. Tomato sauce, salsa, and crushed tomatoes do not count toward this minimum because they are too thick to generate steam efficiently.
Should I use the chili setting or manual pressure cook for tomato chili?
Manual high pressure for 12 to 15 minutes with a 15-minute natural release works better than the preset Chili button on most models. The preset often runs longer than necessary, which increases the chance of scorching. Shorter cook times with proper layering produce better texture and fewer burn alarms.
Does browning ground beef in the Instant Pot cause the burn message later?
It can if you skip deglazing. After browning meat or sauteing onions, pour ¼ cup of broth into the hot pot and scrape every bit of fond off the bottom with a wooden spoon. Any stuck residue will char under pressure and trip the sensor.
Is my Instant Pot broken if it keeps showing the burn warning?
Probably not. Check the sealing ring for stretching or odor, inspect the inner pot for dark stains or scratches, and verify the float valve moves freely. If all three look fine and the alarm still trips on recipes that worked last year, replace the sealing ring first. A worn ring is the most common silent culprit.
Can I convert a stovetop chili recipe for the Instant Pot without burn issues?
Yes, with three adjustments. Reduce total liquid by about 25 percent since the sealed pot does not evaporate. Cut cook time to 12 to 15 minutes at high pressure. Add tomato products on top after the rest of the ingredients are layered, and never stir before locking the lid.
Final Thoughts
The burn alarm is a feature, not a defect. It is telling you that the bottom of the pot is hotter than the contents can absorb. Master the layering order, keep tomato products off the steel, deglaze after sauteing, and maintain your sealing ring, and you will not see the burn warning during chili night again. If you are still weighing whether the Instant Pot is the right appliance for the way you cook stews and braises, our slow cooker vs Instant Pot comparison and our notes on countertop appliance organization will help you decide whether to lean into pressure cooking or split the work across two machines. As always, see our affiliate disclosure for how we handle product links on this site.
Key Takeaways
- Choosing the right instant pot burn message tomato chili means matching the key features to your specific needs and budget
- Read real customer reviews and check the return policy before you commit
- Also covers: instant pot burn warning chili
- Also covers: tomato sauce burn notice instant pot
- Also covers: instant pot chili layering technique
- Compare value across models — the priciest option is not always the best fit