As an Amazon Associate this site earns from qualifying purchases.
If your KitchenAid stand mixer grease leaking from attachment hub has you worried, you're not alone. A small amount of food-grade lubricant seeping from the front gear case is one of the most common issues KitchenAid owners report in 2026 — and the good news is that it's almost always fixable at home. In most cases the leak traces back to aged, separated grease, an over-filled gear case, or a worn gasket behind the hub. This guide walks you through diagnosing the cause, cleaning the leak safely, and replacing the grease so your mixer runs quiet, cool, and grease-free for years.
Why grease leaks from the attachment hub
The attachment hub at the front of every KitchenAid tilt-head and bowl-lift mixer connects to the planetary gear assembly inside the head. That assembly is packed with a thick food-grade lubricant that keeps the metal gears from grinding against each other under load. Over time, that grease can:
- Separate into thinner oil and waxy solids, especially in mixers that sit unused for months
- Migrate forward toward the hub seal as the mixer heats up during heavy use
- Push past a worn or hardened gasket and weep out around the attachment shaft
- Be pushed outward by an over-greased factory fill or a prior DIY repacking that used too much
A drop or two on the attachment shaft after a long bread-dough session is generally normal. A steady drip into your batter, dark amber pooling on the housing, or grease that smells rancid is not — those are the signs you need to act.
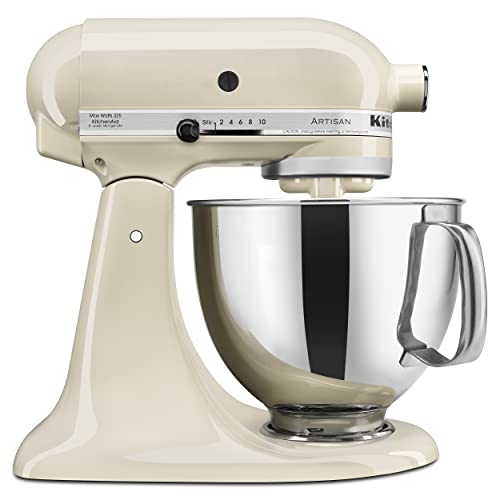
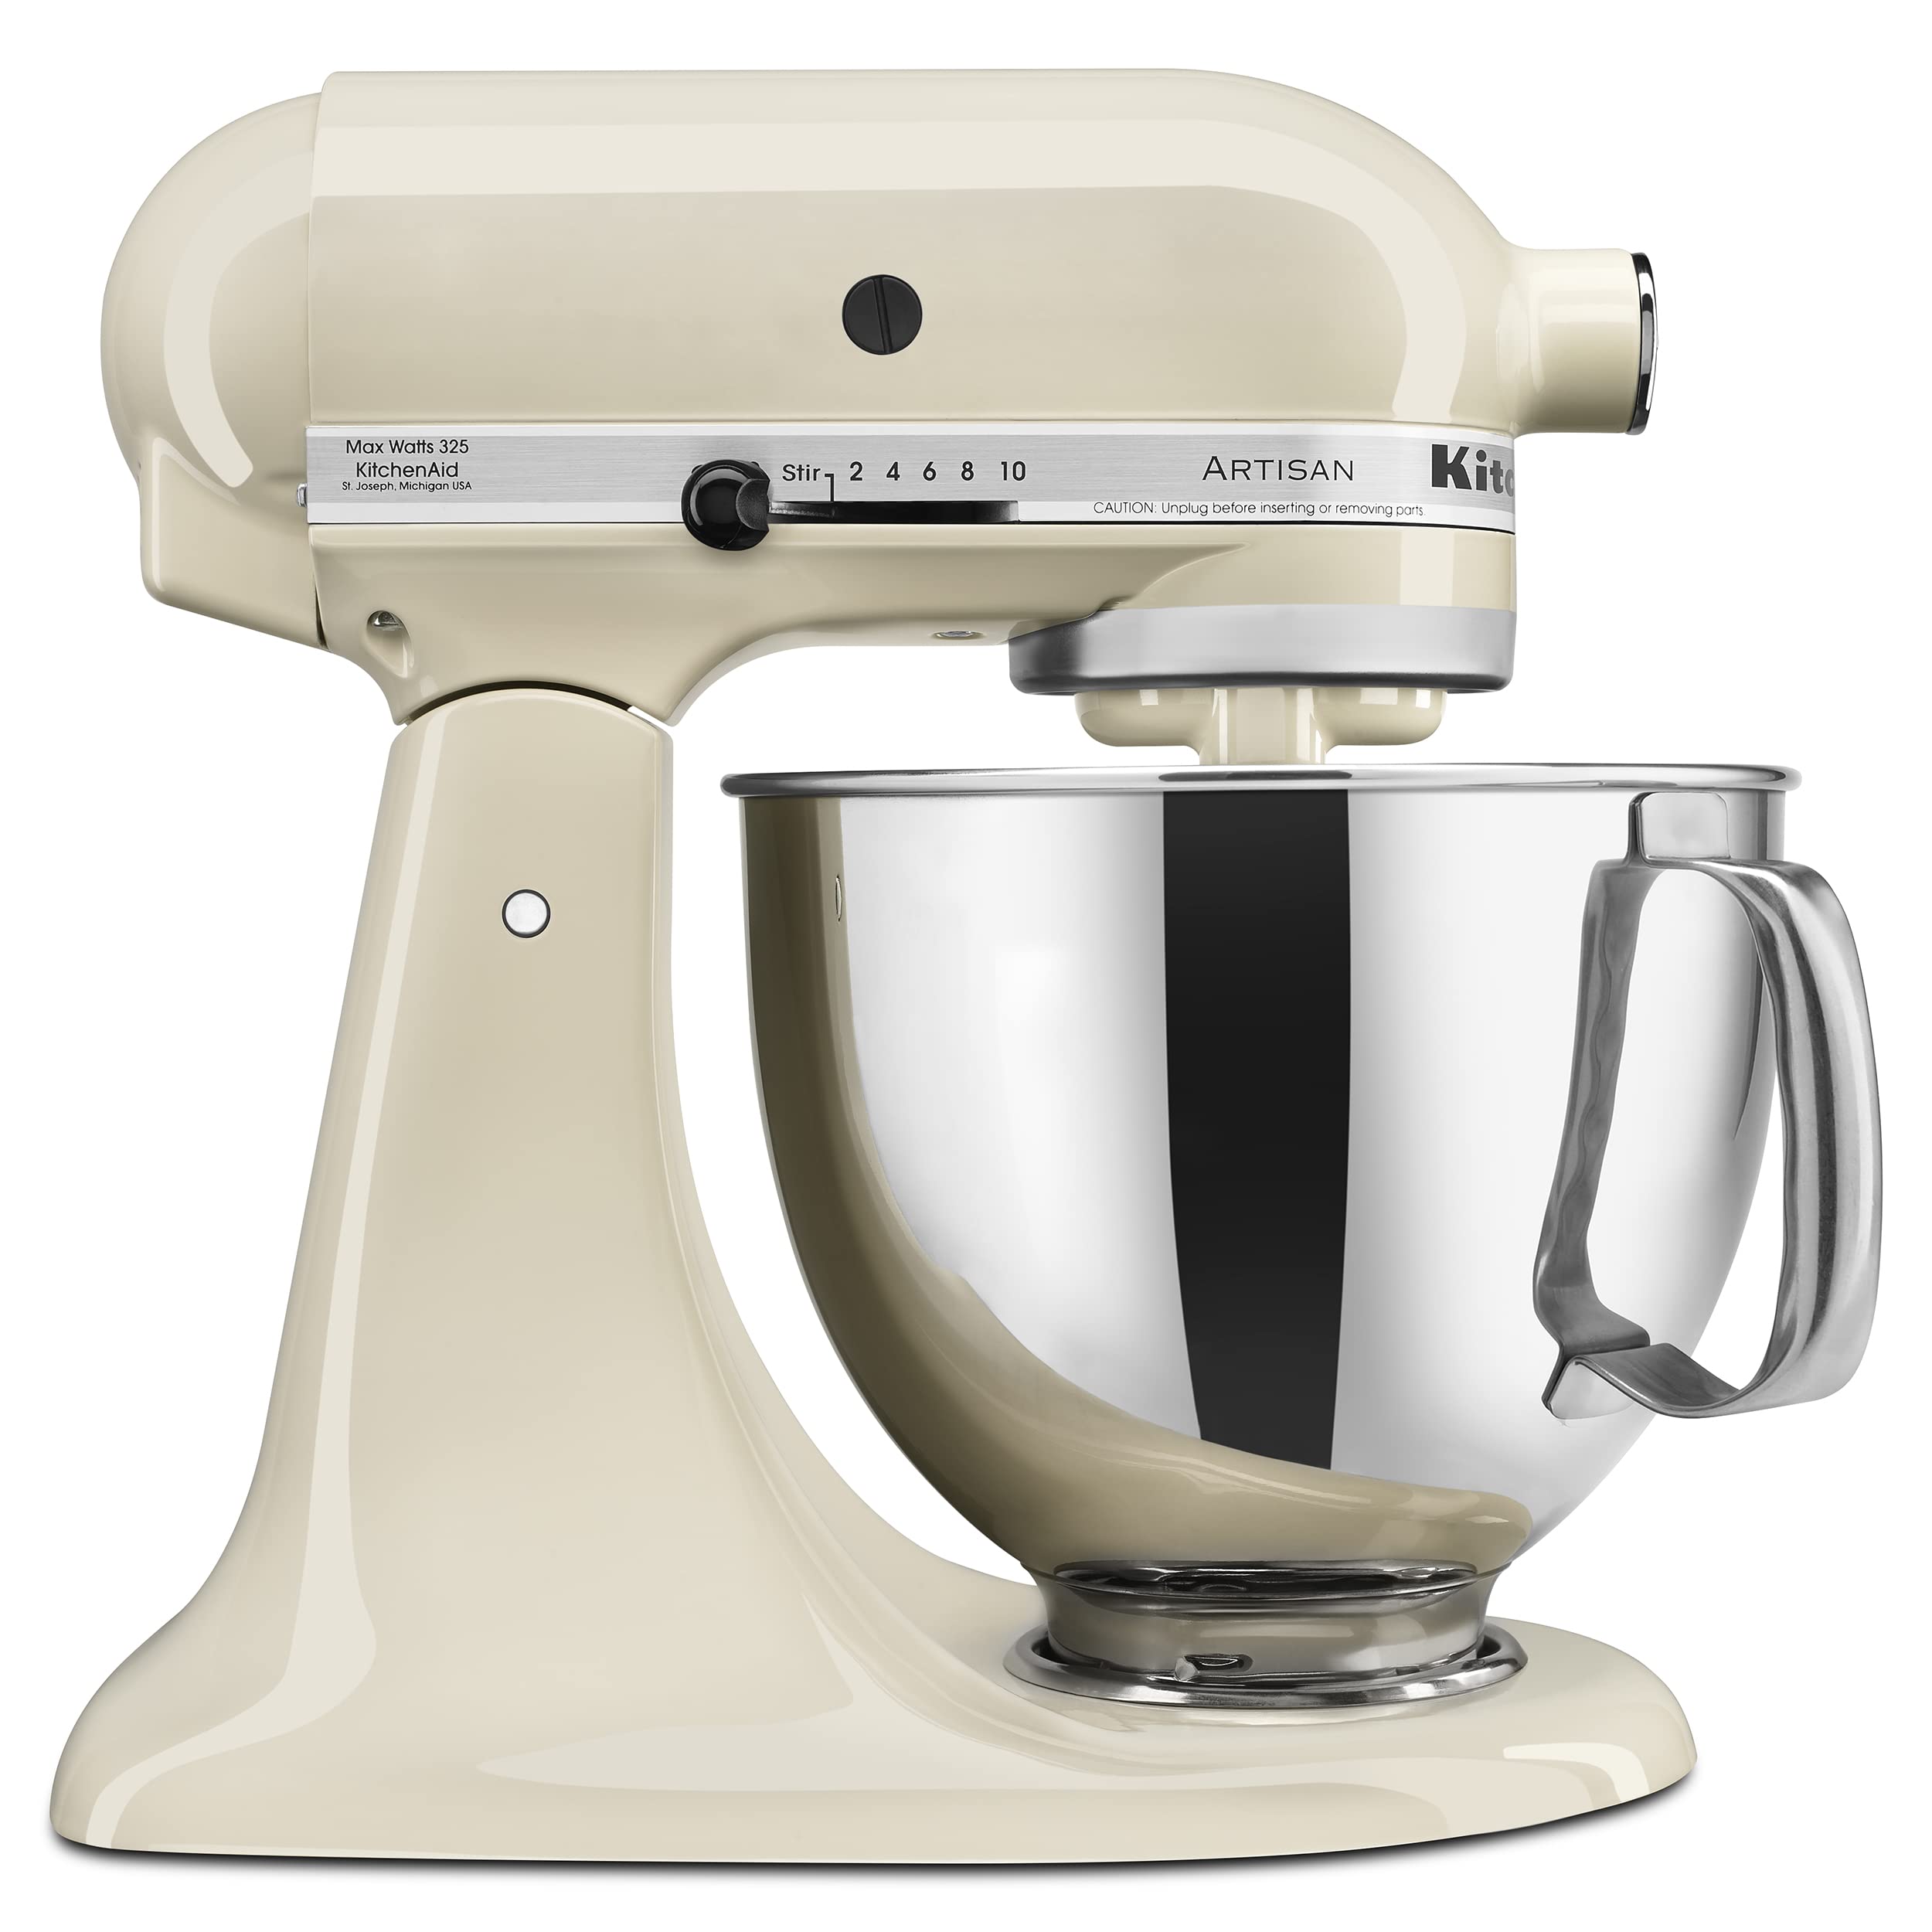
- Built to take it all on with the durable and built-to-last metal construction, and 59 touchpoints around the mixer bowl for great mixing results
- 5 Quart Stainless Steel Bowl with comfortable handle for small or large batches, to mix up 9 dozen cookies* in a single batch. Dishwasher safe. *Using the flat beater; 28g dough
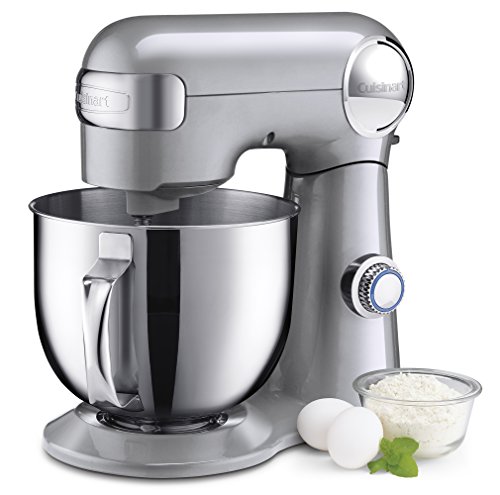
- SUPERIOR FUNCTION: Delivering power, precision and performance, our stand mixer features a 5.5-quart capacity with a 500-watt motor, die-cast metal construction, and 12-speeds
- MUST-HAVE FEATURES: Polished stainless steel bowl, tilt-back head and one power outlet for optional attachments
Is some grease at the hub normal?
Yes — within limits. KitchenAid packs the planetary gear case generously at the factory, and that fill is intentional. As the mixer warms, the lubricant softens and can migrate slightly toward bushings and seals. Most owners will see a faint translucent film on the attachment shaft if they wipe it after extended use.
What's not normal:
- Visible droplets falling from the hub during mixing
- Grease that has separated into clear oil with chunks of wax
- A burnt or rancid smell coming from the head
- Grease finding its way into the bowl or onto attachments
- Heavy buildup at the seam where the polished head halves meet
If you see any of those, the gear case grease needs to be inspected and likely replaced.
Quick diagnosis: where exactly is the leak?
Before disassembling anything, run your mixer for five minutes at speed 4 with no load and watch carefully:
- Wipe the entire head clean with a paper towel
- Run the empty mixer for five minutes
- Check the attachment hub, the seam where the head meets the motor housing, and the bottom of the planetary
- Note exactly where new grease appears
If grease appears at the attachment hub flange, you almost certainly have a worn hub gasket or aging grease. If it appears at the seam where the polished aluminum head clamshell meets, you may have a separated lubricant problem internally. If grease shows around the planetary (the silver three-pronged piece the beater attaches to), the planetary pin seal needs attention.
Step-by-step fix for KitchenAid stand mixer grease leaking from attachment hub
This procedure works for most tilt-head models (Classic, Artisan, Professional) and bowl-lift models with minor variations. Allow 45 to 90 minutes and a quiet workspace.
What you'll need:
- Phillips head screwdriver
- 1/8" Allen wrench
- A plastic putty knife or popsicle stick
- Clean lint-free shop towels
- Citrus-based degreaser (food-safe)
- 12 to 16 oz of food-grade NSF H1 grease
- A new hub gasket if yours is cracked
- Dish soap and a sink
Step 1. Unplug the mixer and remove all attachments. Tip the head back and remove the beater, dough hook, whisk, and any front hub accessory.
Step 2. Remove the rear motor cover (one screw on most models) so you can verify the wiring is undisturbed during reassembly. You don't have to detach anything — just expose it.
Step 3. Lay a towel across your work surface. Stand the mixer head-down or on its side so you can access the underside.
Step 4. Remove the planetary pin. There's a small set screw on the planetary; loosen it with the 1/8" Allen wrench and slide the planetary off the worm-gear shaft. Wipe any grease from the shaft and set parts aside in the order you removed them.
Step 5. Loosen the gear housing screws on the underside of the mixer head. There are typically 8 to 10 small screws holding the lower gear housing to the polished head. Keep them organized — they may differ in length.
Step 6. Carefully separate the housing halves. Old grease will be everywhere. Work the seam open gently; the gasket may stick.
Step 7. Scoop out all old grease with a plastic putty knife. Do not use anything metal that could scar the gear teeth. Place old grease in a sealed bag for disposal.
Step 8. Clean every gear, the housing interior, and the attachment hub bore with degreaser and lint-free towels. Do not use water inside the housing — degreaser only, then wipe completely dry.
Step 9. Inspect the hub gasket and any visible seals. If the rubber feels hard, cracked, flattened, or chalky, replace it. A new gasket is inexpensive and is the single most common cause of a recurring leak.
Step 10. Pack the gear case with fresh NSF H1 food-grade grease. Use roughly 12 to 14 ounces for tilt-head models and 16-plus ounces for bowl-lift models. Work grease into every gear tooth and bushing. Do not overfill — overfilling forces grease out the hub almost immediately. Leave roughly 20 percent air space at the top of the cavity for thermal expansion.
Step 11. Reassemble in reverse order. Tighten housing screws in a crisscross pattern so the gasket compresses evenly. Reinstall the planetary, set screw, and rear cover.
Step 12. Run the empty mixer for two to three minutes at speed 2, then speed 4, then speed 6. Wipe and watch for any new leaks. A tiny amount of grease may weep for the first one or two uses; that's normal and should stop within a week.
When you should NOT DIY this fix
Skip the home repair and book a service center if:
- Your mixer is still under warranty (any repair voids it)
- You hear grinding, clunking, or metal-on-metal noise
- The motor smokes or trips your breaker
- The head won't tilt smoothly or the gears show visible chipping
- You're not comfortable with small mechanical disassembly
KitchenAid offers flat-rate repairs, and authorized service centers can usually re-grease and replace the gear case for $80 to $150 in 2026 — often worth it for older mixers you rely on every weekend.
Buyers guide: choosing replacement grease and gaskets
Since the leak almost always traces back to grease quality or gasket wear, here's how to pick replacements that last.
Food-grade NSF H1 lubricant
The single most important specification is NSF H1 rating. This certifies the grease is safe for incidental food contact — critical for a machine that handles bread dough, frosting, and pizza dough. Generic automotive or wheel-bearing grease is not safe for kitchen use, even if it never visibly contacts food. Look for an NSF H1 registration number printed on the container, a lithium-complex or aluminum-complex base (these tolerate the mixer's operating temperature range), NLGI grade 1 or 2 thickness, and a 12 to 16 oz tub sized for a single repacking. Many KitchenAid owners use the official KitchenAid-branded grease, but any NSF H1 food-grade grease meeting those specs will perform identically.
Replacement gaskets and seals
The hub gasket is a small rubber O-ring or paper-faced ring that sits between the motor housing and the lower gear case. Replacements are model-specific — order by your mixer's full model number, printed on the underside of the base. Buy two so you have a spare next time. While you're ordering, pick up a spare planetary pin set screw in case yours strips during removal, and a new attachment hub set screw and thumb wheel if yours feels worn or loose.
Cleaning supplies
A citrus-based degreaser is gentler on rubber seals than acetone or mineral spirits, and it leaves no residue that would contaminate the new grease. Pair it with lint-free shop towels — paper-towel fibers can stick to gear teeth and contaminate the fresh fill. Avoid brake cleaner and engine degreaser; they can attack the seals you're trying to protect.
How to prevent the leak from coming back
Once your mixer is clean and re-greased, a few habits keep the gear case healthy:
- Run the mixer at least once a month, even briefly, to keep grease distributed
- Avoid speed 1 for extended periods under heavy load — it's the highest-torque setting and pushes grease toward the seals
- Don't overfill the bowl beyond the recommended capacity for your model
- Let stiff dough rest periodically during long knead cycles
- Store the mixer at room temperature; extreme cold causes grease to separate faster
- Replace the gasket every time you open the gear case, even if it looks fine
If you mix bread dough regularly, plan to re-pack the gear case every 8 to 10 years. Lighter users may go 15-plus years between services.
Related reading
For more help getting the most from your countertop appliances, see our Cuisinart vs KitchenAid stand mixer comparison for 2026 and the stand mixer vs hand mixer buyers guide. If your KitchenAid is getting on in years and you're weighing a re-grease against a replacement, our editorial policy on appliance reviews explains how we test long-term durability claims, and our affiliate disclosure covers how product links on this page work.
Frequently Asked Questions
Why is my brand new KitchenAid mixer leaking grease from the attachment hub?
Brand new mixers occasionally weep a small amount of grease during their first few uses as the factory-packed lubricant settles and warms for the first time. This usually stops on its own within three to five uses. If droplets continue forming after a week of normal use, contact KitchenAid — it's covered under the standard warranty and they'll typically send a replacement or detailed repair instructions free of charge.
Can I just keep using my mixer if it's leaking a little grease?
For occasional baking, yes — as long as the leak is minor, the grease isn't getting into your food, and you wipe the hub before each attachment swap. Long term, however, the leak indicates the gear case is slowly losing lubricant. Run it dry and the gears will wear quickly, leading to a much more expensive repair than a simple repack would have cost.
What does KitchenAid say about grease leaks under warranty?
KitchenAid considers light grease seepage normal and not a warranty issue. Persistent or heavy leaks, especially when paired with noise or performance problems, are covered under the standard one-year hassle-free replacement warranty (longer for some Professional models). Save your receipt and photograph the model and serial sticker on the underside of the base before calling.
Is the grease inside a KitchenAid stand mixer food-safe?
Yes. KitchenAid uses NSF H1 food-grade grease specifically rated for incidental food contact. Small amounts that reach your batter are not dangerous, but they will taste unpleasant and that batch should be discarded. Always replace with NSF H1 grease — never substitute automotive, household, or generic lithium lubricants, even if they look identical.
How often should I re-grease my KitchenAid stand mixer?
For typical home use (a few batches a week), the factory grease lasts 10 to 15 years. Heavy bakers running bread or pizza dough multiple times a week may want to repack the gear case every seven to eight years. The clearest signals are visible leaks, separated grease texture inside the head, or a faint burnt smell during use.
Can a grease leak ruin my KitchenAid mixer permanently?
Only if ignored for a long time. A slow leak that goes unaddressed eventually drains the gear case, and the planetary gears will wear, chip, or seize. Caught early, a $20 tub of food-grade grease and an hour of work restores the mixer. Caught late, you're looking at a $150-plus gear assembly replacement or a new mixer entirely.
What's the difference between KitchenAid grease and regular lithium grease?
Both are typically lithium-complex based, but KitchenAid grease is certified NSF H1 for incidental food contact and formulated for the specific temperature and load profile of a planetary kitchen mixer. Regular lithium grease — even premium versions — may contain additives unsafe near food or may break down at mixer operating temperatures. Stick with NSF H1 rated products to keep your KitchenAid stand mixer grease leaking from attachment hub problem from ever returning.
Key Takeaways
- Choosing the right KitchenAid stand mixer grease leaking from attachment hub means matching the key features to your specific needs and budget
- Read real customer reviews and check the return policy before you commit
- Also covers: KitchenAid hub grease leak fix
- Also covers: stand mixer oil seepage
- Also covers: KitchenAid planetary grease
- Compare value across models — the priciest option is not always the best fit